Table of Contents
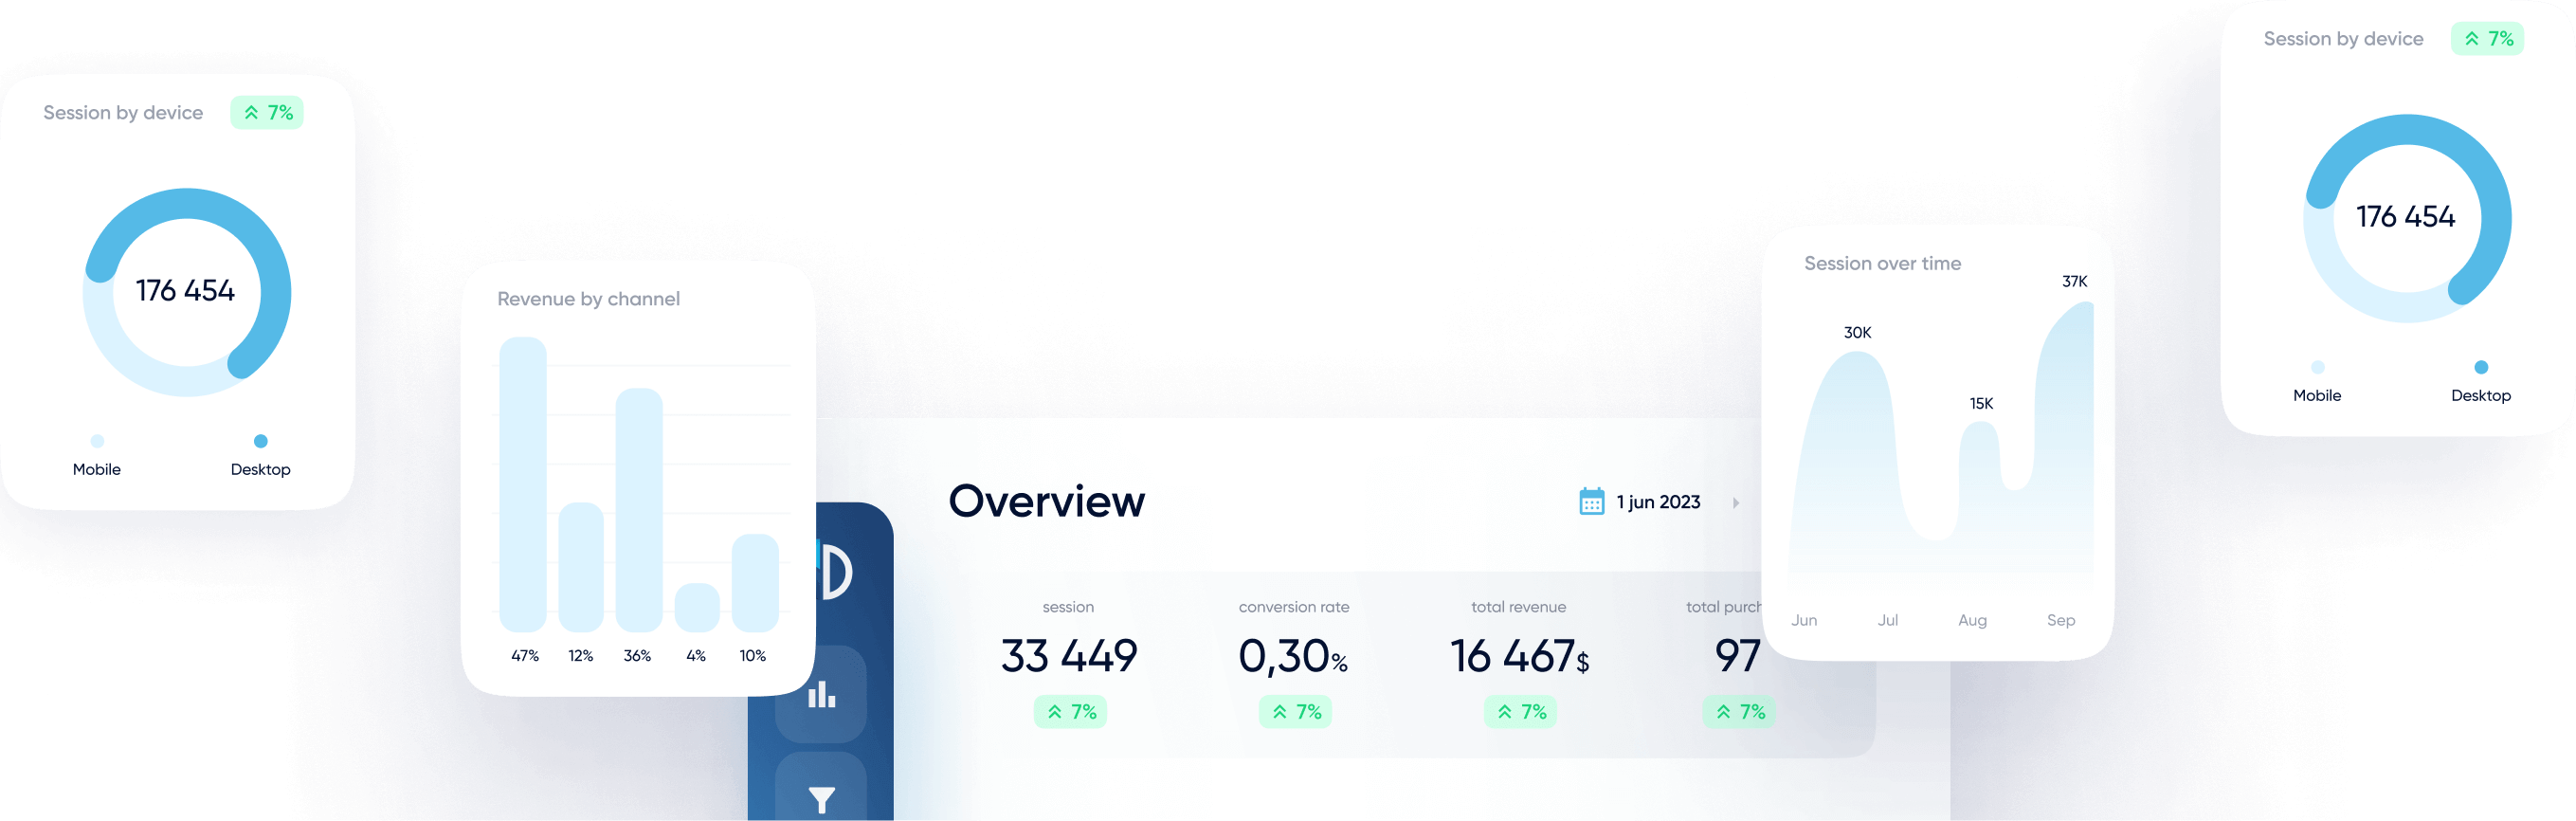
A picture might be worth a thousand words, but a Looker Studio (previously known as Data Studio) report can be worth that amount of words multiplied many times over. With features that let you set up Google Looker Studio Page Navigation, you can create dashboards that showcase multiple pages filled with charts and graphs.
Within each page, you can further divide it into headers and sections. Google Looker Studio report navigation features let you curate how viewers can access the different pages and sections.
Not only do reports enable the data to tell the story, but it also allows audiences to participate in an interactive discovery process.
Keep reading to learn and discover navigation tools for your next report.
Setting Up Navigation in Looker Studio
You can navigate through your reports in multiple ways when you use Looker Studio. Navigation refers to when you move between pages or sections set up in the report.
For navigation, you have two modes from which to navigate: view and edit. The main way you set up navigation requires these steps:
- Click on “Edit Your Report”
- Select View
- Go to “show navigation in edit mode”
Navigations may also be accessed using the feature that allows users to use the Report Page. The report pages panel allows you to jump to the page, section, or header that you want to access.
You can also use simple keyboard commands to navigate through the report. To navigate to the next page, or toggle to the prior page, you press the “page up” or “page down” buttons. Another way to navigate is by pressing the left or right arrows on the keyboard.
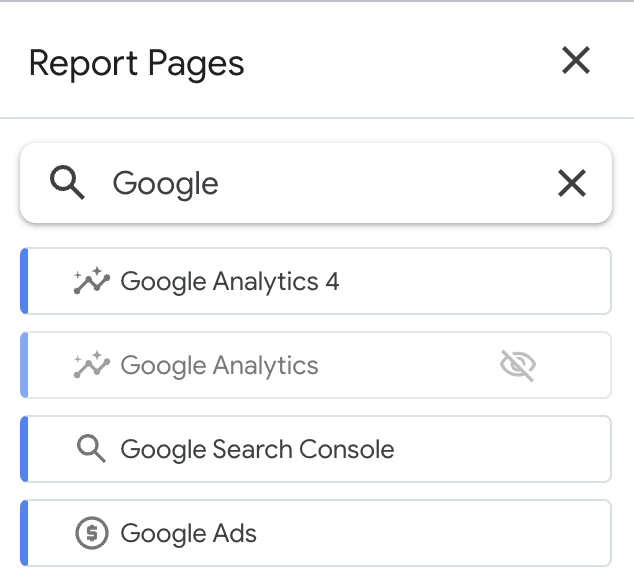
A third way to navigate through the pages of a report involves going into “Edit Mode.” For this step, you go to “Report Pages” to use navigation. You click on the search box, where you can type in the name of the page, section, or header.
You can take certain steps to change the specific Navigation type used in the report. You do this through the “Edit your report” feature. To access the panel for report pages, you go to the toolbar and click “Page_of_.”
You then hover over the item that you want to edit. After that, you click “More” with the icon of three dots placed vertically. From there, you select your choice of which action you want, which includes the following:
- Rename
- Duplicate
- Delete
- Hide in “view mode”
- Select icon
- Move (to top/bottom, up or down)
Keeping Certain Pages Hidden
Users have the option to hide certain pages or sections from reports if they don’t want those specific parts to be seen. This feature helps when you only want to share information with other editors and designers of the report.
When you opt to hide a section or page of a report, this means that viewers can’t navigate to those specific sections or pages. Also, when a PDF of the report gets downloaded, the hidden pages won’t appear.
Pages that have been selected to be hidden can be made to be visible to viewers again. To do this, click on the “More” option once again. From there, select “show in view mode.”
Change the Navigation Type
Once again, go to “edit your report.” From there, select Theme and Layout. You then clock on the tab for Layout.
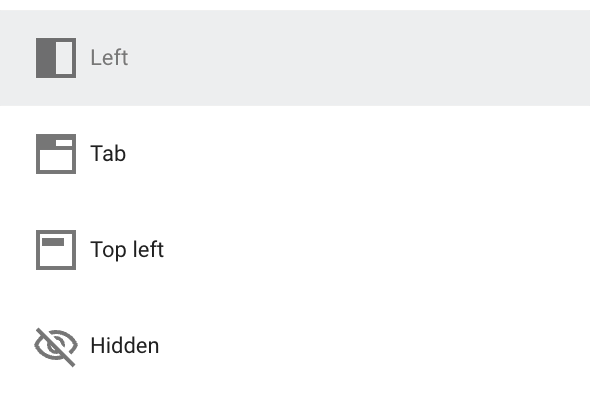
You then go to View Mode, from which you select “Navigation type.” You will see each page listed separately. The following types of navigation options include:
- Left for sections to show up as a collapsible column on the left-hand margin
- Tab for links to each page/section showing up as tabs on top of the report
- Top Left for a drop-down menu that shows up at the top left corner of the page
- None for when no navigation options get displayed (Hidden)
Writing Text Within Fields
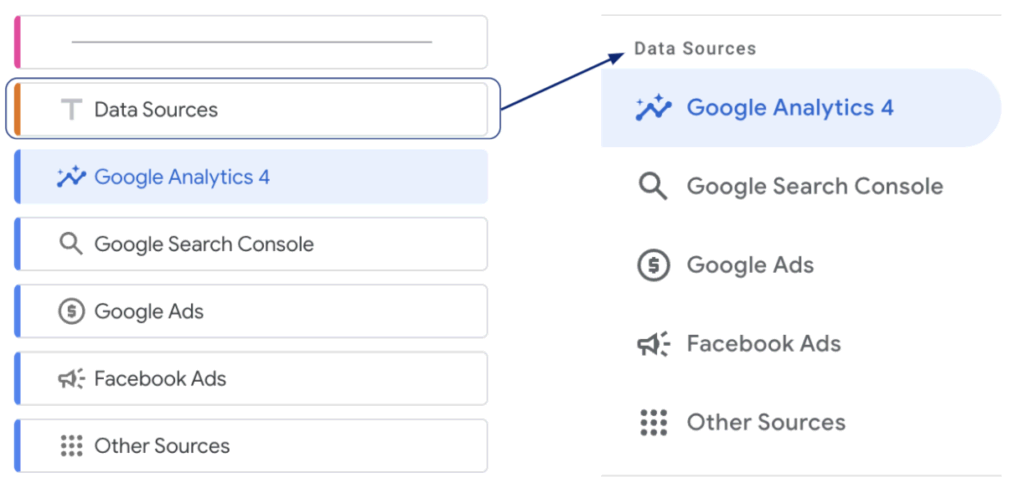
Users also can set up navigation between pages with text fields. These text fields contain an embedded link. First, you add the text. Then you click over to “text properties,” where you add the hyperlink.
In the text properties menu, go to “Insert Link.” From there, you copy and paste the link into the empty row. You can also select if the link appears as a separate tab or a new window.
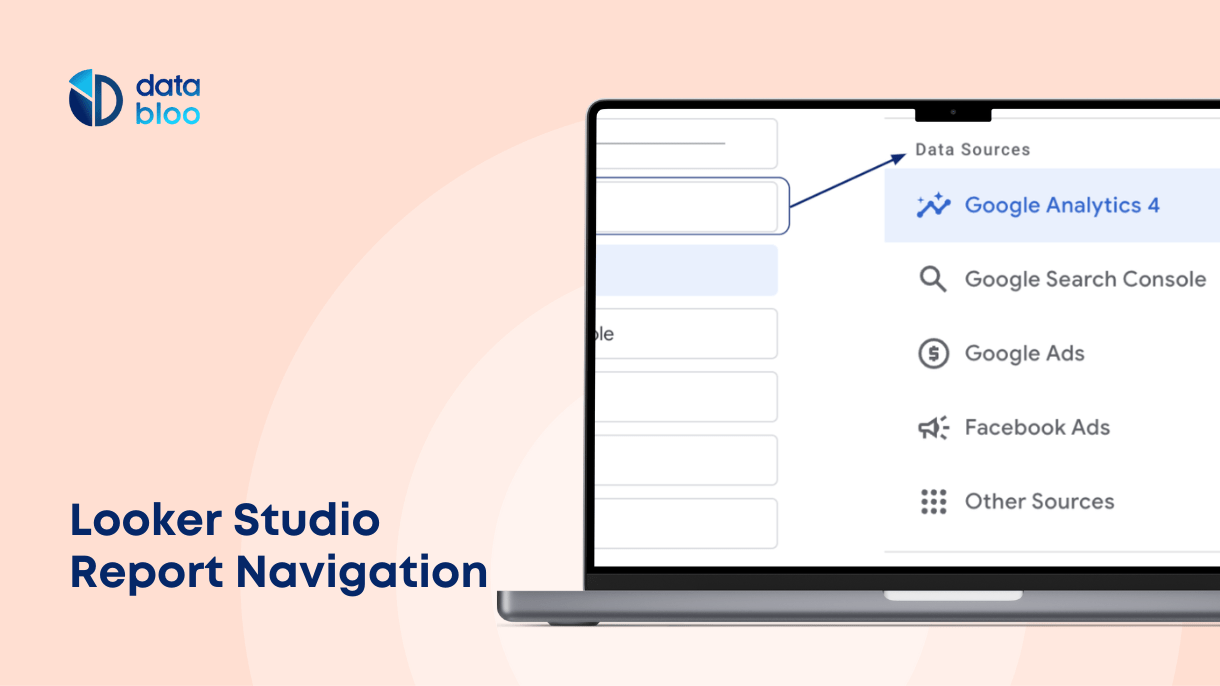
How to Add Pages and Icons to Your Report
When figuring out how to use Google Looker Studio reports, you will find options to set up reports with multiple pages. This helps you organize complex information and data narratives for presentations. And you can flip through the pages, to focus on specific sections one at a time.
Google Looker Studio helps you take control of how audiences receive information. Navigation options offer one way to create a dynamic report.
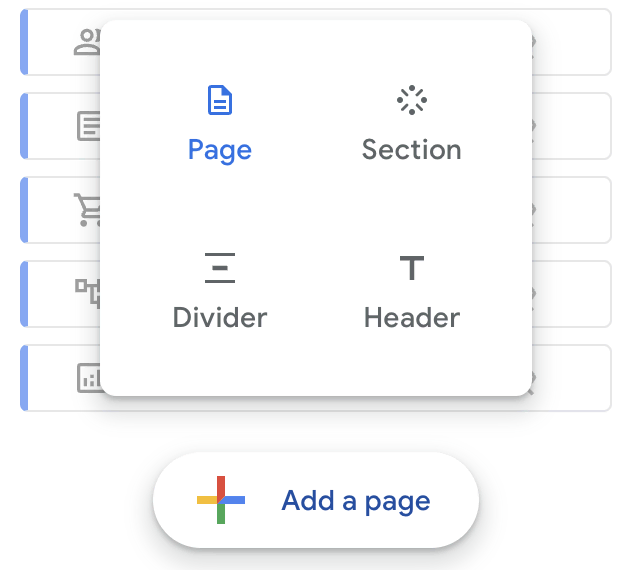
Of course, you can add features in more than one way. To add a page, you go to “Edit Your Report.” Once you’re at the menu, you click on “Page” and then select “New Page.”
Another way involves going to the left side of the toolbar to click on the icon that says “Add Page.” For reports that contain more than one page, you click on “Page_of_” and then go to the panel marked “Report pages.”
From there, click on the icon that looks like a large rainbow plus sign. This adds a new page to the report.
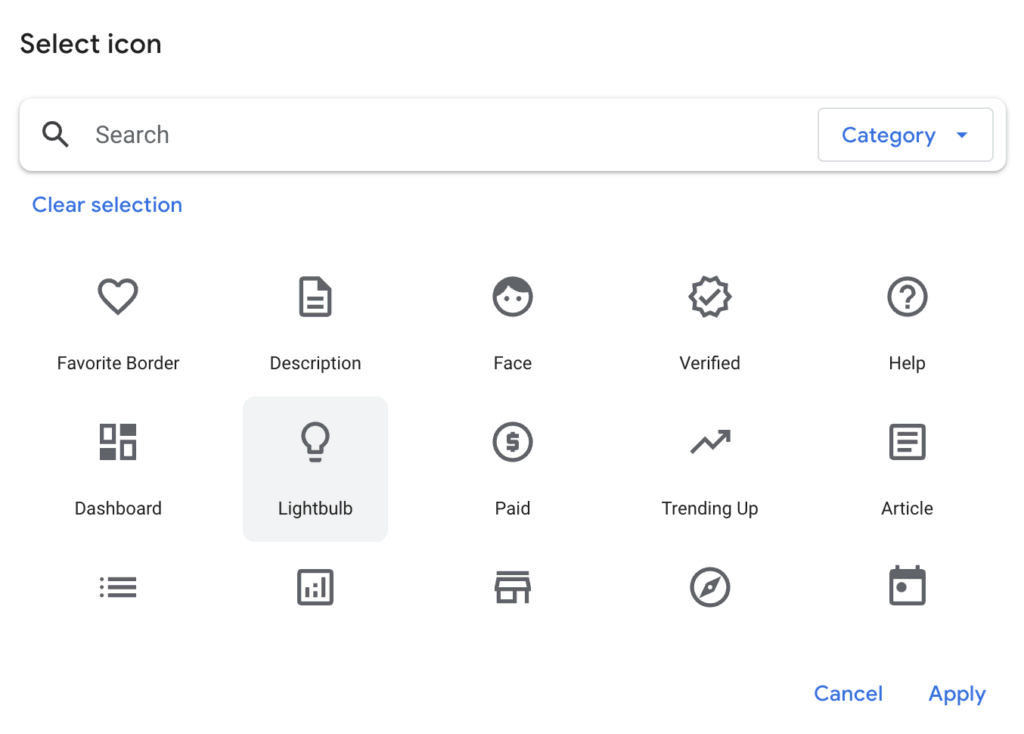
You can further customize your page by adding an icon from the library. In order to do that, hover over a page or section you want to select and click on the icon that is three small stacked dots.
Designing A Custom Navigation in Looker Studio
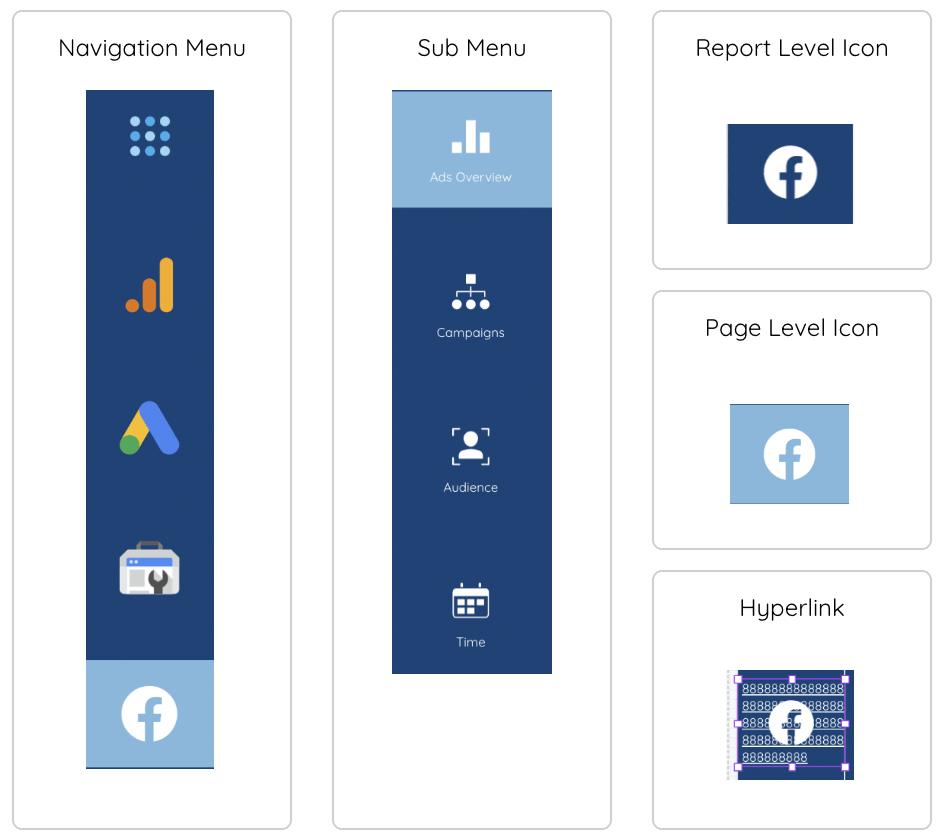
Apart from Google’s native navigation, you can create a customized menu making your reports look much more unique and sophisticated. Below you will find the elements of how to design a user-friendly menu from scratch:

1. Navigation Menu – All the icons in the navigation menu should be available across the entire report.
2. Sub-menu – All the icons in the sub-menu should be available only on specific pages.
3 Report Level Icon – To apply an icon across the entire report, simply click right-click to that element and make it report-level
4 Page Level Icon – To apply an icon to a specific, simply click right-click to that element and make it page-level (default state)
5 Hyperlink – The text with numbers (in edit mode) in front of each icon, is used as a hyperlink to lead the user to the corresponding section. It should be in front of the icon.
Looker Studio Navigation in Action
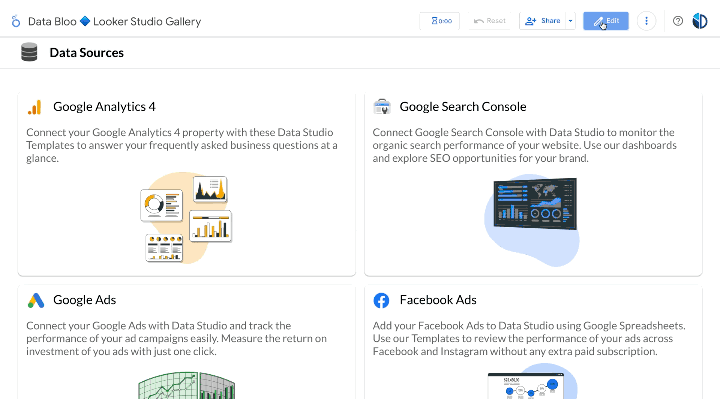
Databloo, along with creating an entire gallery of templates featured on Google Looker Studio’s page, has set up its version of Google Analytics. It’s called Analytics4Now and can be found on Databloo’s main page.
Analytics4Now operates as a dashboard that requires no coding whatsoever. It creates a layout similar to Universal Analytics reports. It does this by relying on Google Looker Studio’s navigation. You can check it out here.
Diversifying Your Reports With Navigation Features
Now you know how to turn a simple, monotonous report into a multi-faceted and multi-page interactive experience for audiences to view charts and data. Google Looker Studio report navigation lets you configure how users can move through reports. Visit Data Bloo’s Gallery to check out how we can help you design epic data visualizations.